Other 26/03/2020
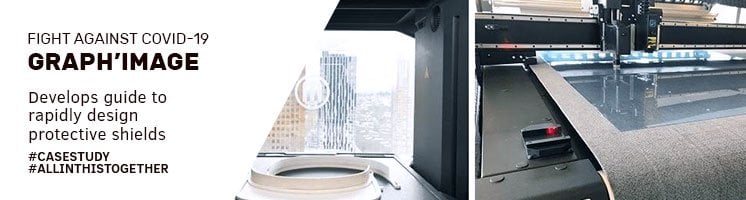
Graph'Image - esteemed Summa partner - did not rest on its laurels and developed a guide to rapidly design protective shields in the fight against COVID-19. The guide enables citizens like you and me to make PPE and supplement them to hospitals in their communities.
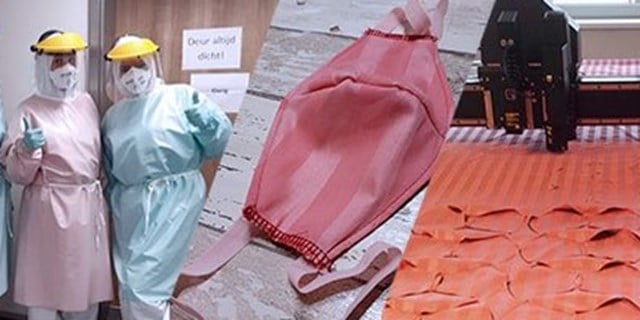
As the coronavirus pandemic continues to spread around the world, the global shortage of personal protective equipment (PPE) is becoming more acute. However, with a 3D printer and a flatbed cutter, we can accomplish for anyone to make PPE and supplement them to hospitals and clinics in their communities, as long as supplies last.
3D printers are very useful for printing visors which can be fixed on transparent plastic to make face shields. This article provides the documentation and model needed for 3D printing visors. The flatbed cutter is the ideal companion for cutting face shields quickly and optimally, making them perfectly compatible with visors. Therefore, Graph'Image writes, we would like to particularly thank our historic partners, Summa (world leader in cutting systems) and MakerBot (world leader in 3D printing) for their support and their precious help throughout the duration of this project.
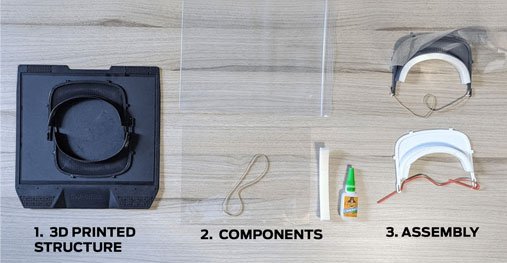
The face shield is made up of four parts:
The rest of this guide will detail these 4 parts.
The visor is 3D printed, using PLA, ABS or PETG filament. We have opted for the use of PLA filament whenever possible.
Download the STL file of the visor here
Download the STL file of the strap here
We recommend the following prepress parameters, used with the software MakerBot Print on a 3D Printer MakerBot Method:
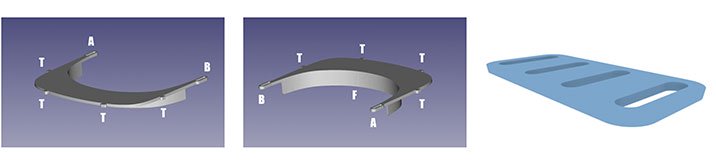
Image 1: Front of the visor showing four tabs (T) for the transparent shield and two loops (A and B) for fixing the headband.
Image 2: Back of the visor showing four tabs (T) for the transparent shield, two loops (A and B) to fix the headband and a space to fix the foam strip (F).
Image 3: Optional print strap for better comfort
We worked with two different solutions to create the headband, the rope and the elastics. In both cases, the headband attaches to the visor through the loops A and B of the above figures and is tied with knots.
Elastics
To use rubber bands, we recommend using giant rubber bands of 20 cm.
Rope
To use a rope, we recommend using a 3 mm braided nylon rope.
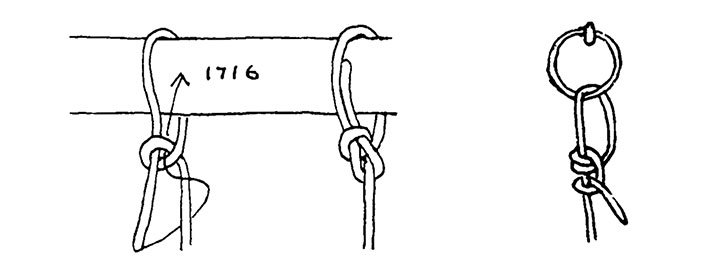
Image 3: Bowline (left and centre) and tight line hitch (right), from The Ashley Book of Knots.
The foam band provides comfort to the healthcare worker by cushioning the visor against their forehead. We use standard foam sealing tape, 2 cm wide and 11 mm thick.
Although the foam tape has adhesive, you can add a layer of super glue to bond the foam tape to the visor.
The transparent shield
Finally, the transparent shield is a rectangular sheet of transparent plastic with four perforated holes that align with the four tabs on the visor, marked T in figures 1 and 2 above. We used standard PETG sheets up to 200 microns thick. The goal is to have a material that curves around the visor and is thin enough for a hole puncher.
Graph'Image: "With the help of our partner SUMMA, we used a SUMMA F3232 flatbed cutter and a High-Frequency Router in order to cut thin plates with the holes in the right places to make the front of the PPE (transparent plate)." You can download the DXF file below:
If you don’t have a flatbed cutter, you can always perform this procedure manually.
To view this content, you need to accept functional cookies.
Change cookie preferences
Detach the transparent screen from the visor to flatten the screen for transport.
Many organizations post their immediate need for PPE on websites and specifically indicate which PPE is needed. They accept used protective glasses, cloth masks and ask the public for face shields. A simple online search will help you target organizations that specifically request face shields. Invite health professionals to your teams to allow networking, assess needs and help you navigate the world of health care.
Due to the breadth of COVID-19 for organizations and health professionals, the government centralizes how to donate on social media pages and provides e-mail addresses on how to donate. Some websites state that they will check PPE usage as soon as they arrive. We do not think it is necessary to specifically contact the purchasing offices, and it is more important to find out where to donate.
As always, we recommend that people exercise good judgment and caution when trying to work with complex and quick responses to a crisis. We hope you have found this guide useful. Take care of yourself during this pandemic.
This guide was made based on a study by the University of Colombia at NYC.